
How to remove wrinkles from clothing photos without losing detail
Retouch distracting clothing wrinkles with AI while checking texture, seams, prints and product condition against the original photo.
Quick answer
Use wrinkle removal to reduce distracting creases in a garment photo, then compare the texture and construction with the original. The goal is a clearer product image, not a different-looking fabric.
Step by step
Start with the best physical preparation
Straighten the garment and use suitable lighting before photographing it. Keep a sharp original at full resolution. AI retouching cannot reliably reconstruct texture from a blurred or badly exposed image.
Upload the garment photo
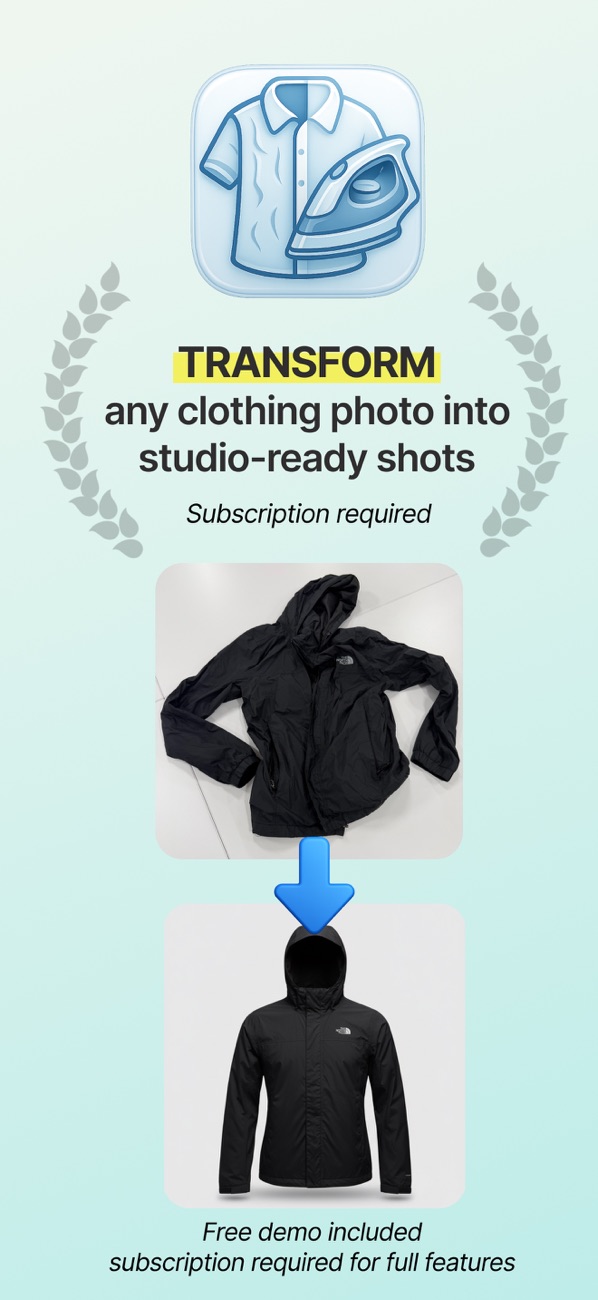
Open the source in Clothing Studio and use its wrinkle-removal workflow. Keep the original beside the result so subtle changes to the material are easier to notice.
Check texture and intentional folds
Inspect ribbing, knit, pleats, seams and printed patterns at full size. Distinguish unwanted shipping creases from folds that communicate fit or design. Avoid a result that makes woven fabric look smooth like plastic.
Keep only a faithful result
Compare color, silhouette and garment condition, then export the image. If a logo, pattern or seam changes, use another result or the original instead of publishing a misleading detail.
Example: a pleated skirt
Shipping creases may be distracting, but the designed pleats are part of the product. Removing both would make the skirt appear to have a different cut. Keep a detail photo showing the real pleat structure.
Before you use the result
Image retouching does not repair the physical garment. Do not hide wear or damage that a buyer should know about, and do not promise that AI preserves every fabric detail automatically.
Explore the app