
How to create ghost mannequin clothing photos for a catalog
Prepare a garment photo, generate a ghost mannequin presentation and inspect shape, seams and labels before using it in a product listing.
Quick answer
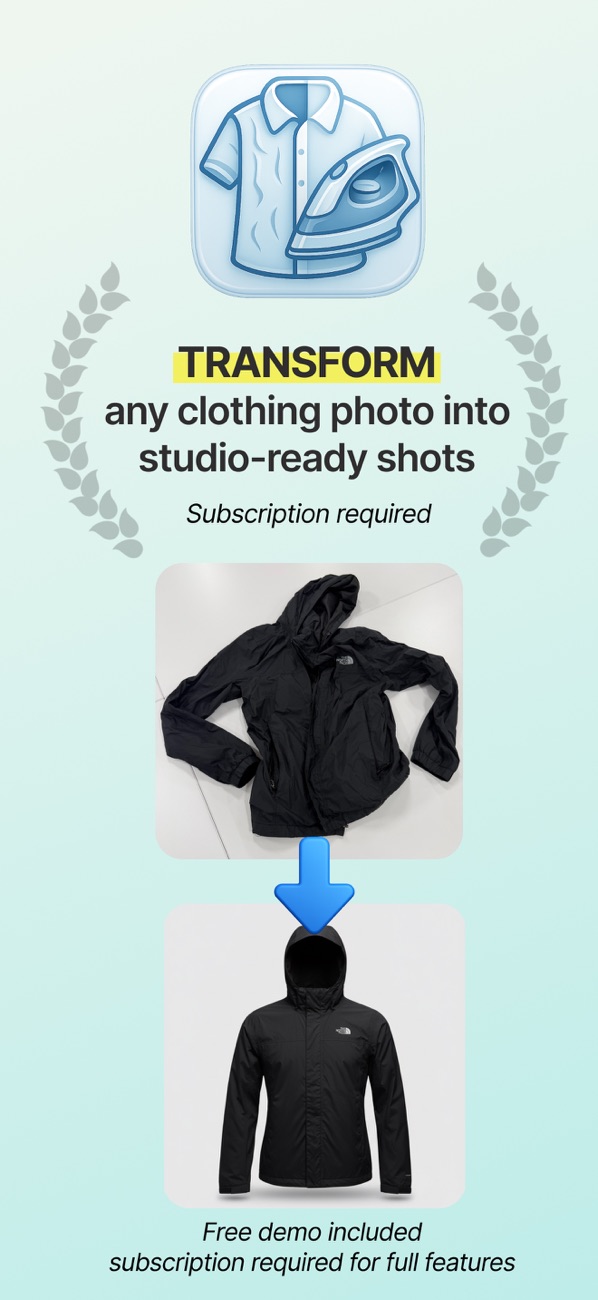
A ghost mannequin image shows the shape of a garment without a visible model or mannequin. Clothing Studio can generate that presentation from a garment photo, but the result still needs to match the item you actually sell.
Step by step
Prepare the garment and lighting
Use a clean, evenly lit garment photo with the complete outline visible. Keep sleeves, hems and straps separated from the background. Photograph details such as labels or embroidery separately when they matter to the buyer.
Choose the ghost mannequin presentation
Upload the garment image to Clothing Studio and choose the mannequin layout. Use the same general framing and lighting approach across a product collection so the catalog remains consistent.
Inspect the details at full size
Compare the generated neckline, sleeve openings, seams, closures and hem with the source. Check patterns, logos and text especially carefully. Regenerate or use the original when the AI invents an opening or changes a distinguishing feature.
Prepare the listing image
Export the reviewed result, keep a consistent crop and leave enough space around the garment. Include real detail photos in the listing so the generated presentation is not the only evidence of texture or construction.
Example: a button-down shirt
Check that the number and alignment of buttons stay correct, the collar retains its shape and a patterned fabric does not change at the side seams. A clean silhouette is useful only if the shopper can still recognize the real shirt.
Before you use the result
AI presentation is not a fitting simulation or proof of fabric drape on a customer. Do not use a generated image that changes the product color, cut, branding or condition.
Explore the app